


缘之空安卓版汉化
1435MB · 2025-12-24

在上一篇笔记里使用阿里云ECS部署Express, 我们已经完成了后端应用的部署。现在我们来部署一下前端,因为前面在部署后端的时候,服务器Node、Git那些都已经安装好了,我们现在要做的就是
1.进入到我们前端项目位置,拉取最新代码,安装依赖,打包
2.安装Nginx,启动Nginx
3.ECS控制台配置 防火墙(安全组)规则,开放80端口(HTTP)
4.配置Nginx,指向我们前端打包的目录
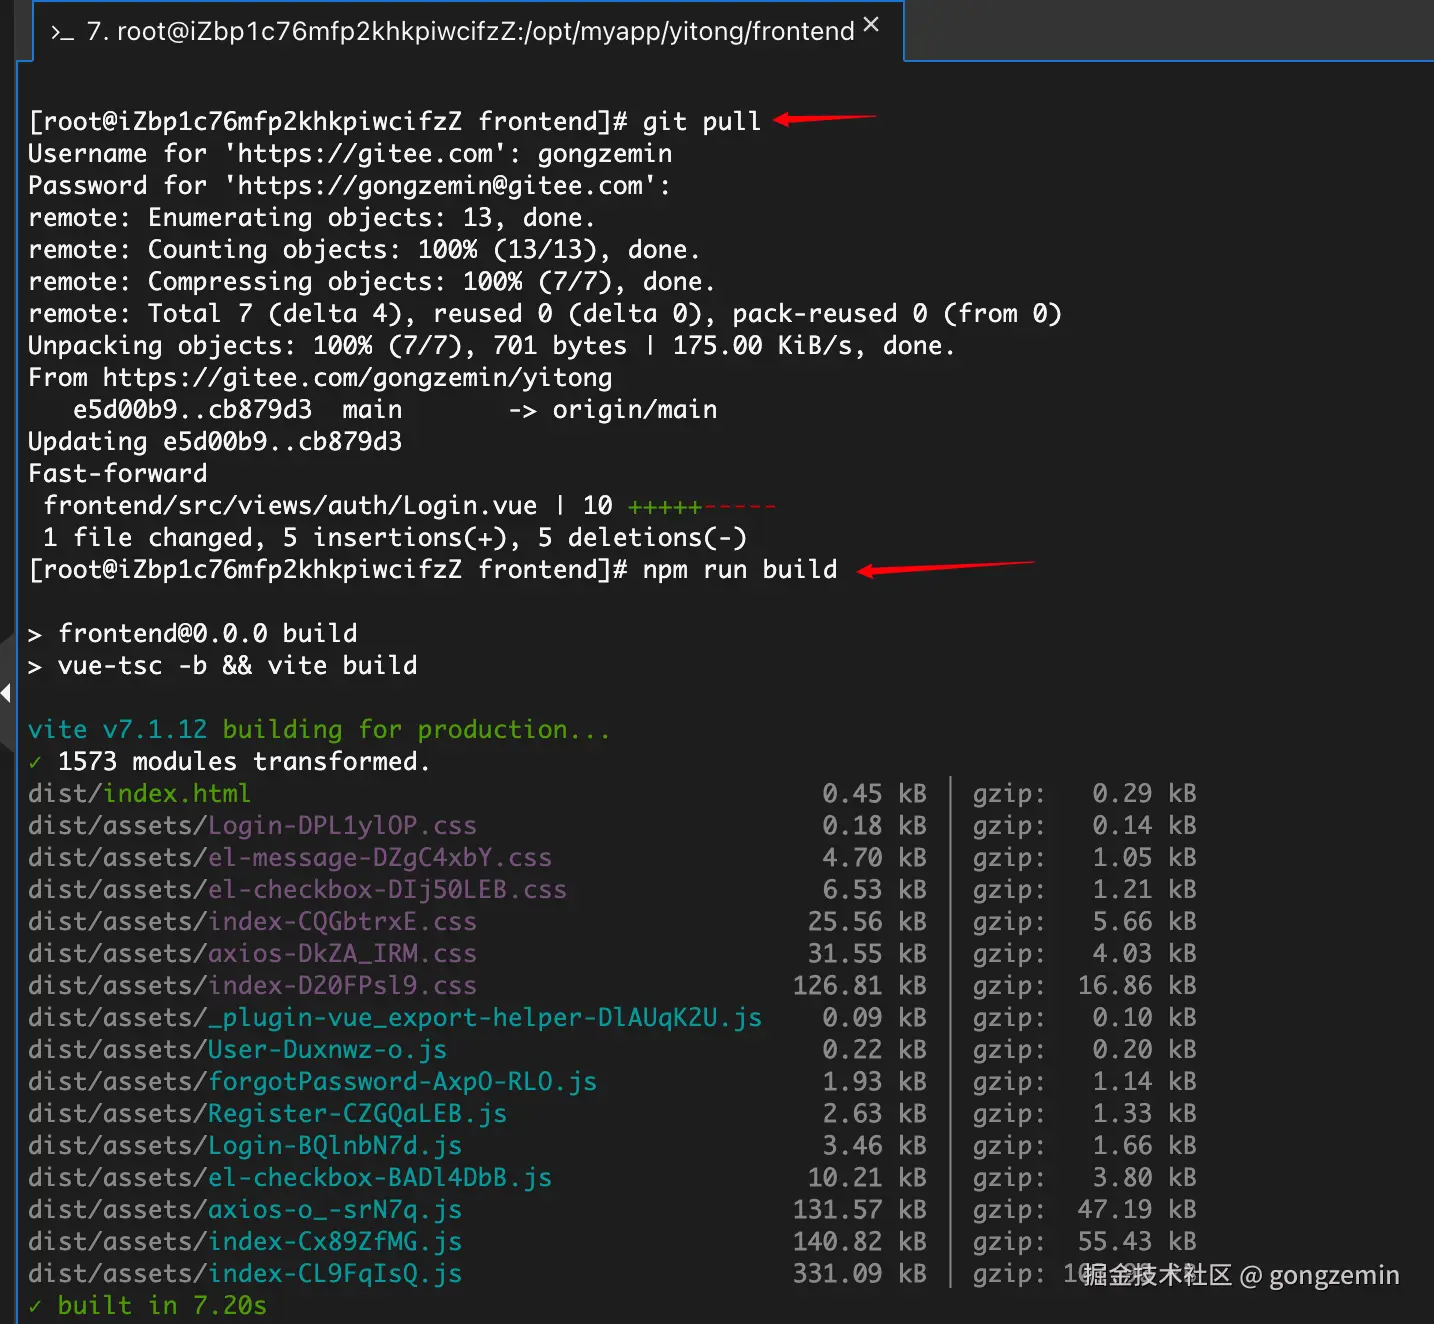
cd /opt/myapp/项目名/frontend/ # 进入项目
git pull                      # 拉取最新代码
npm run build                 # 打包
我这里没有执行npm i, 因为我没有新包要安装
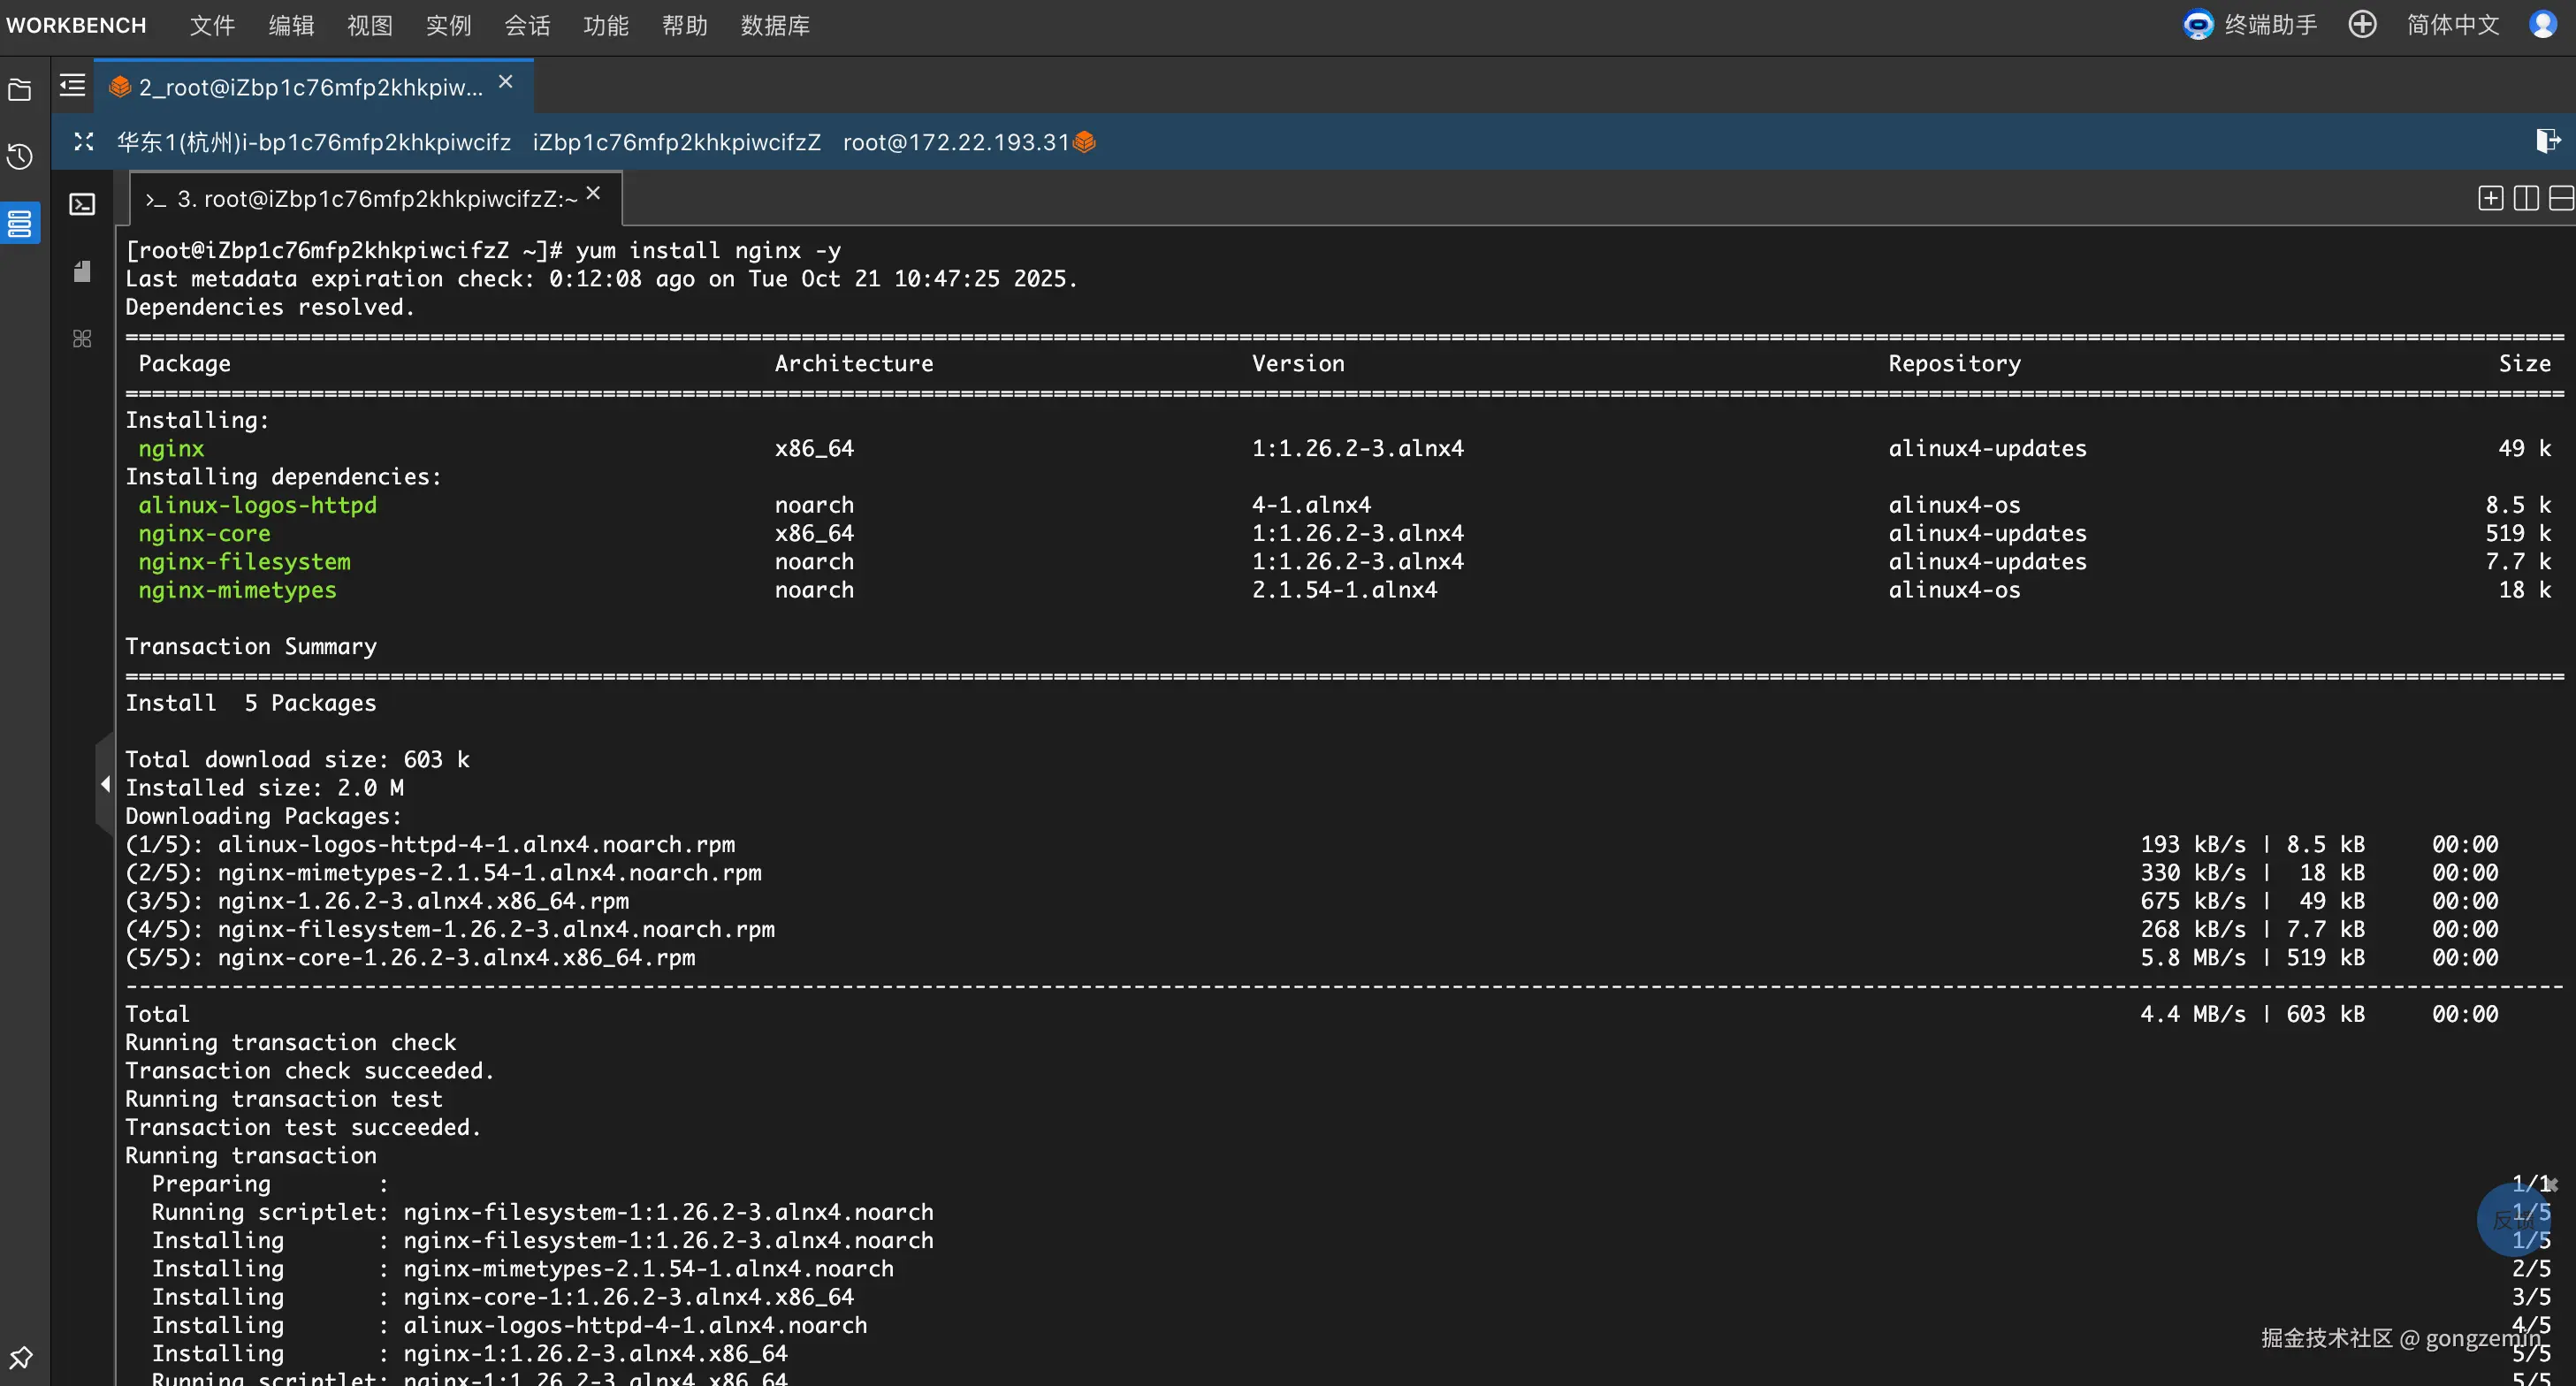
执行命令 dnf install nginx -y 或者yum install nginx -y
yum install nginx -y
systemctl start nginx
systemctl enable nginx  # 开机自启
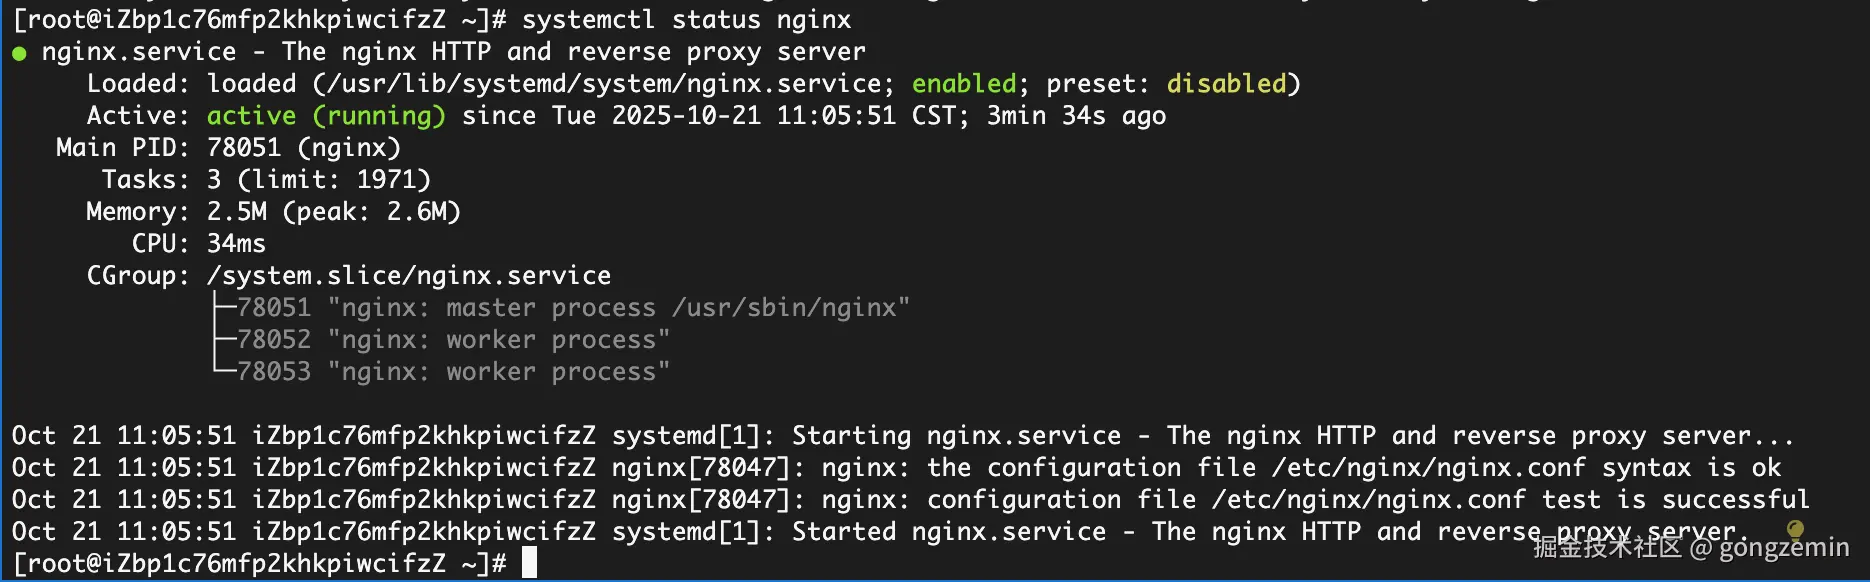
检查Nginx状态
systemctl status nginx
看到输出nginx.service - The nginx HTTP and reverse proxy server和Active: active (running)(绿色),说明我们的Nginx已经启动成功了
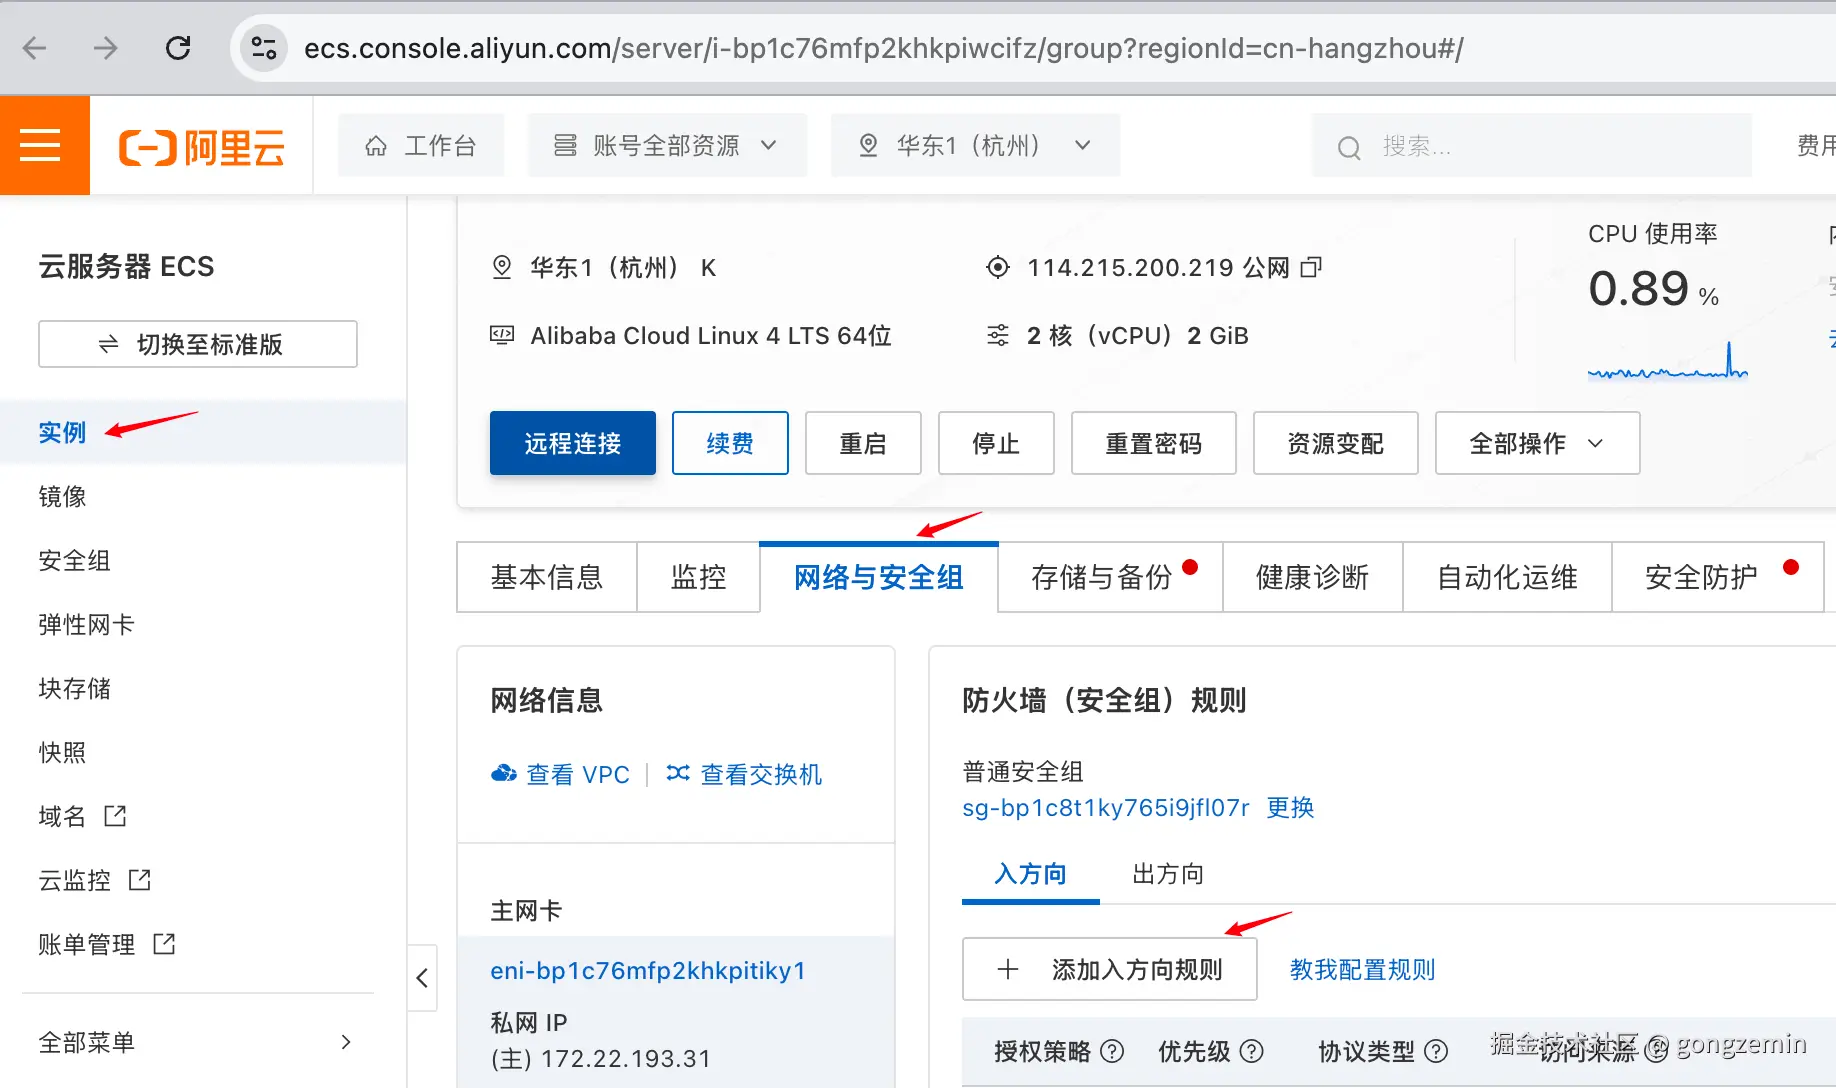
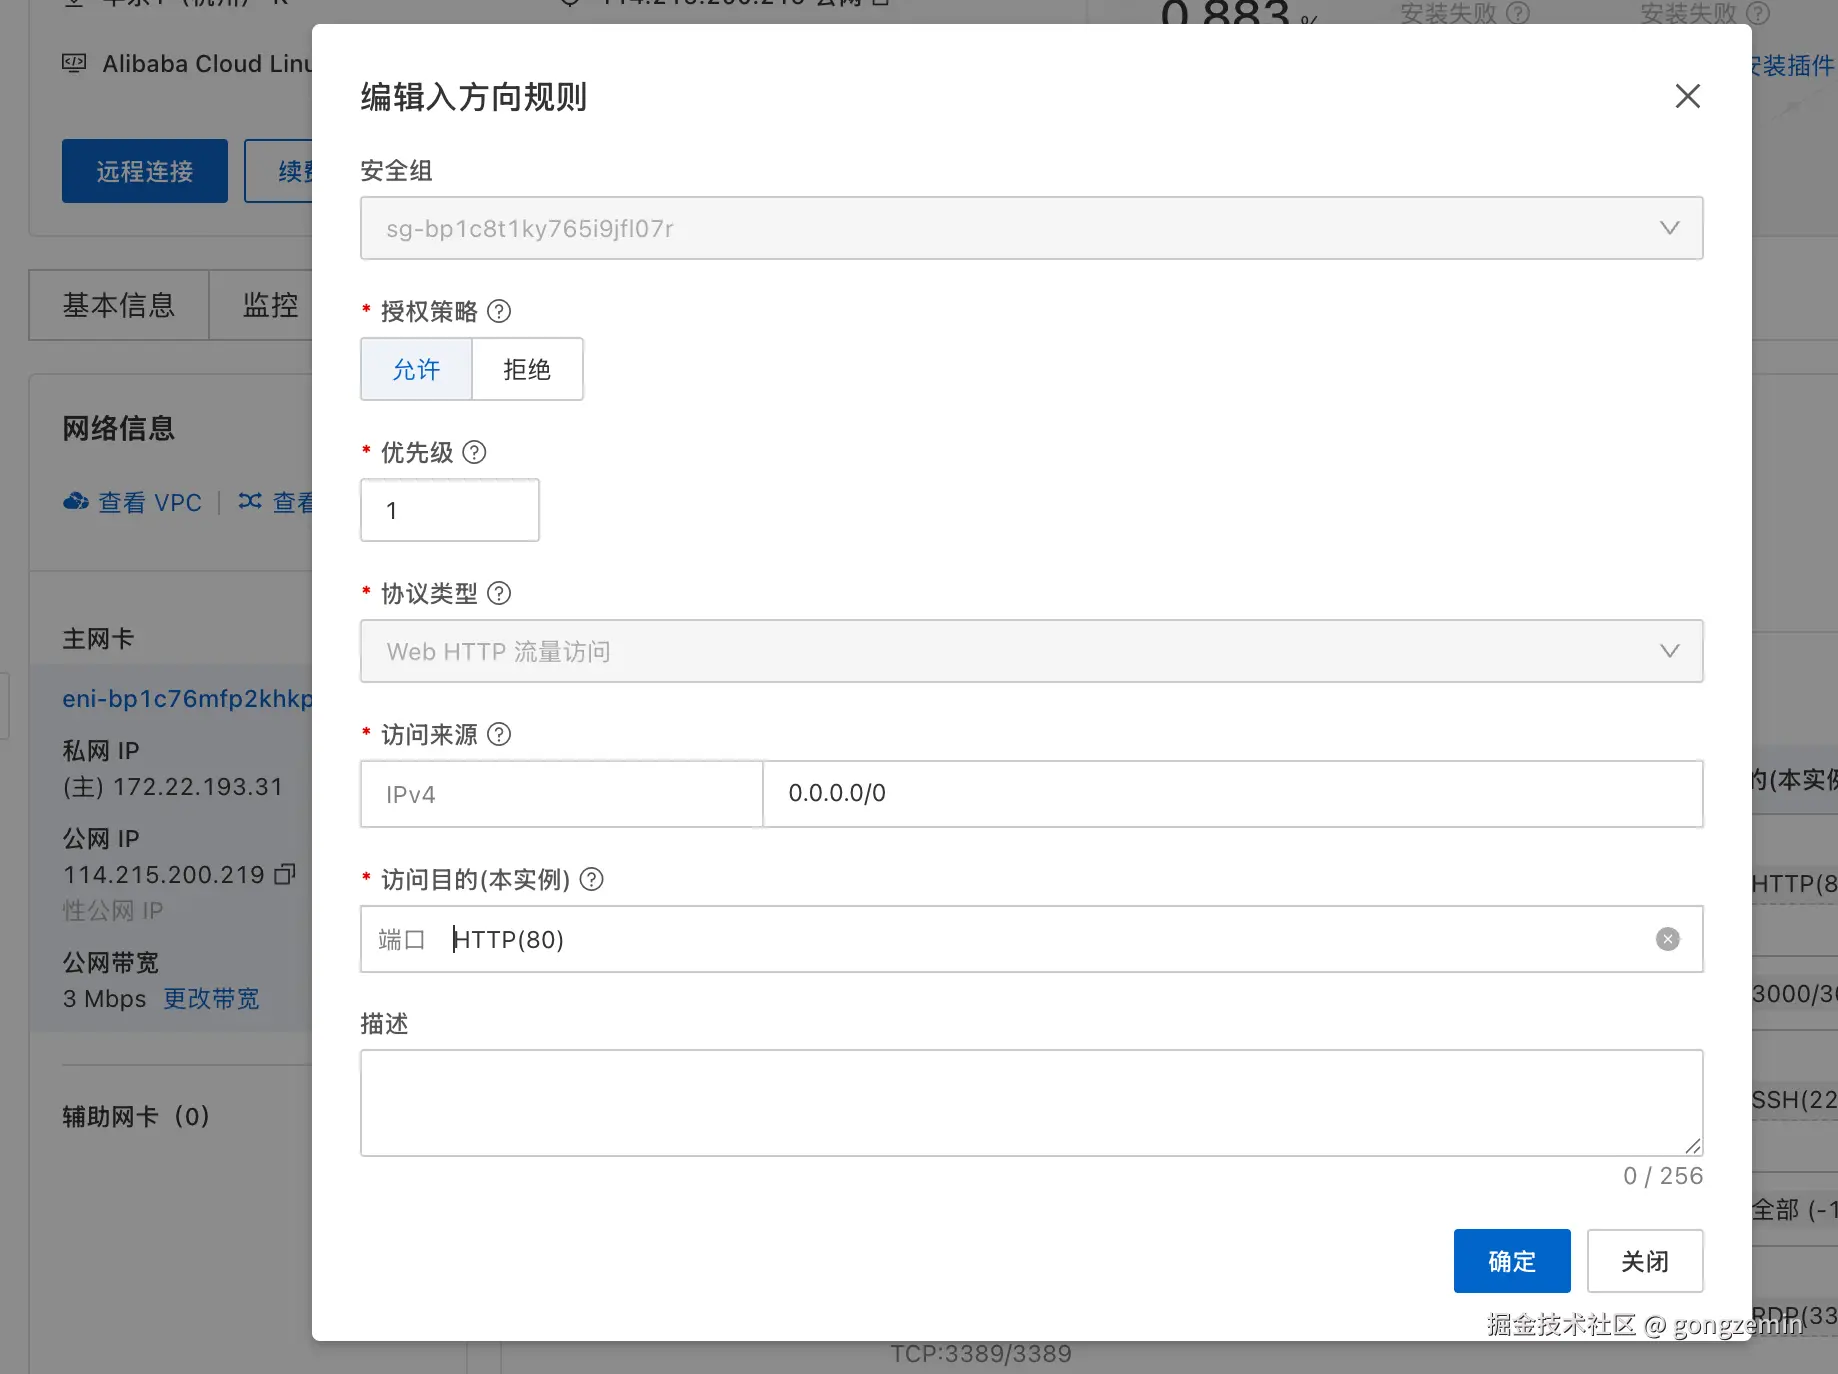
登录阿里云控制台,在我们的ECS示例里,在网络与安全组里,添加入方向规则
添加80端口
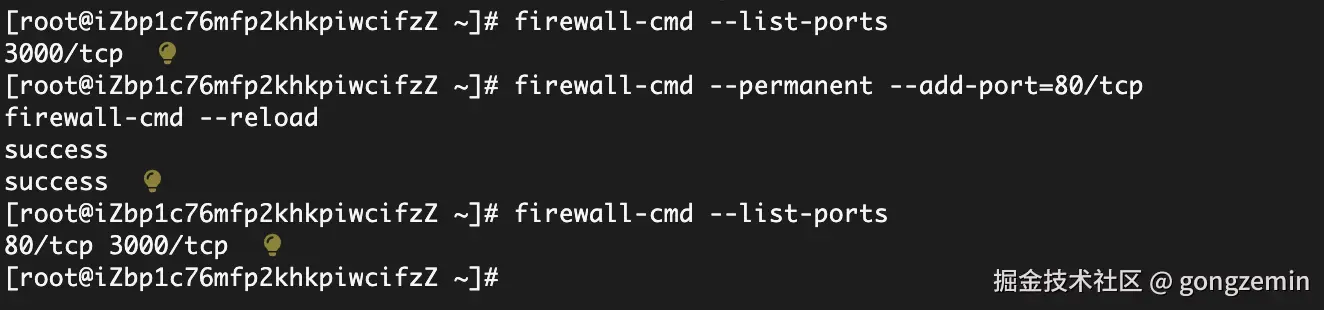
这时候我们再访问我们的公网IP,发现还是不行 服务器防火墙检查:在终端跑:
firewall-cmd --list-ports
发现没有80/tcp,添加:
firewall-cmd --permanent --add-port=80/tcp
firewall-cmd --reload
这时候我们再运行,发现就有了80端口
firewall-cmd --list-ports
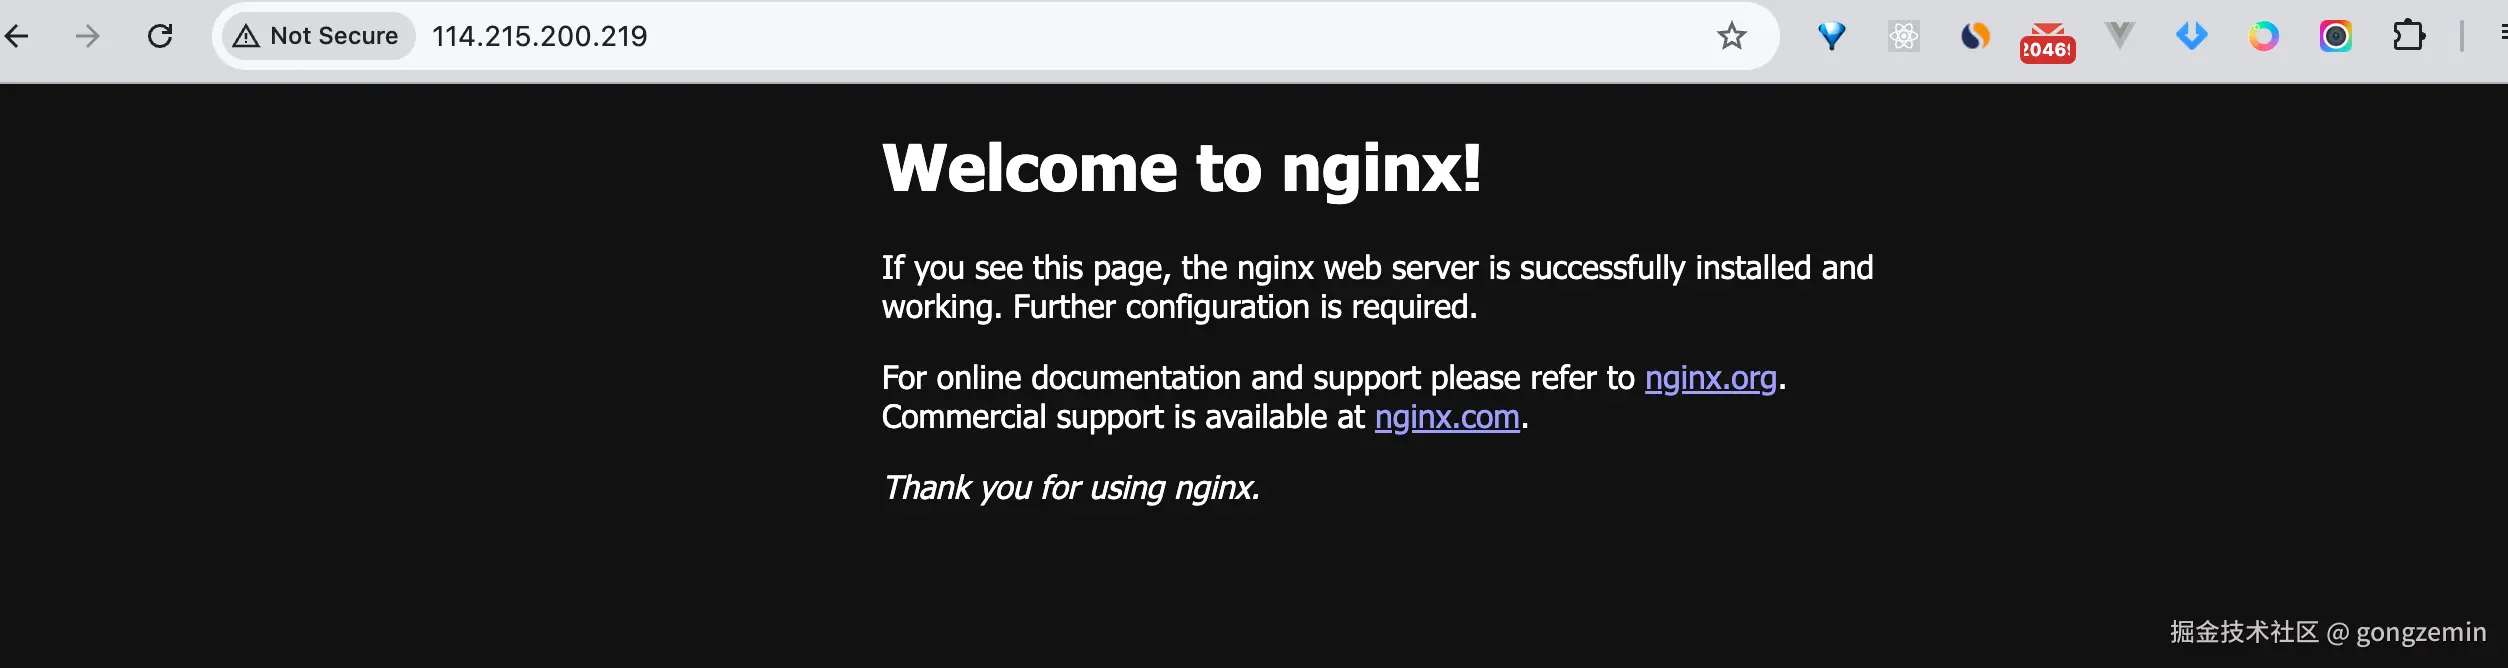
然后我们访问主页,就有了Welcome to nginx!
前面我们安装Nginx的时候,会自动创建/etc/nginx/conf.d/,还有nginx.conf,我们要为我们的项目单独新建一个配置文件
/etc/nginx/
├── nginx.conf                    # 主配置
├── conf.d/
│   ├── default.conf              # 默认配置(指向 /usr/share/nginx/html)
│   └── yitong.conf               # 你的配置(指向 /opt/myapp/...)
执行
sudo nano /etc/nginx/conf.d/yitong.conf
提示nano: command not found, 因为我们没有安装nano编辑器,安装下,然后再次执行
,因为我们没有新建yitong.conf(yitong是我们项目名),nano会自动创建,当我们用nano打开的时候, 添加如下配置
    listen 80;
    server_name _;

    # 根路径 / 默认服务prod内容(无跳转,alias映射)
    location / {
        alias /opt/myapp/yitong/frontend/dist/;
        index index.html index.htm;
        try_files $uri /index.html =404;  # SPA fallback到根index.html

        # 静态资产优先(浏览器请求 /assets/xxx -> prod/assets/xxx)
        location ~* .(js|css|png|jpg|jpeg|gif|ico|svg|woff|woff2|ttf|eot)$ {
            try_files $uri =404;
            expires 1y;
            add_header Cache-Control "public, immutable";
        }
    }

    # yitong生产子路径(可选,如果想 /yitong/prod/ 也访问;否则删这块)
    location /yitong/prod/ {
        alias /opt/myapp/yitong/frontend/dist/;
        index index.html index.htm;
        try_files $uri /yitong/prod/index.html =404;

        location ~* .(js|css|png|jpg|jpeg|gif|ico|svg|woff|woff2|ttf|eot)$ {
            try_files $uri =404;
            expires 1y;
            add_header Cache-Control "public, immutable";
        }
    }
     # API代理
    location /api/ {
        proxy_pass http://localhost:3000/api/;
        proxy_set_header Host $host;
        proxy_set_header X-Real-IP $remote_addr;
        proxy_set_header X-Forwarded-For $proxy_add_x_forwarded_for;
        proxy_set_header X-Forwarded-Proto $scheme;
    }
}
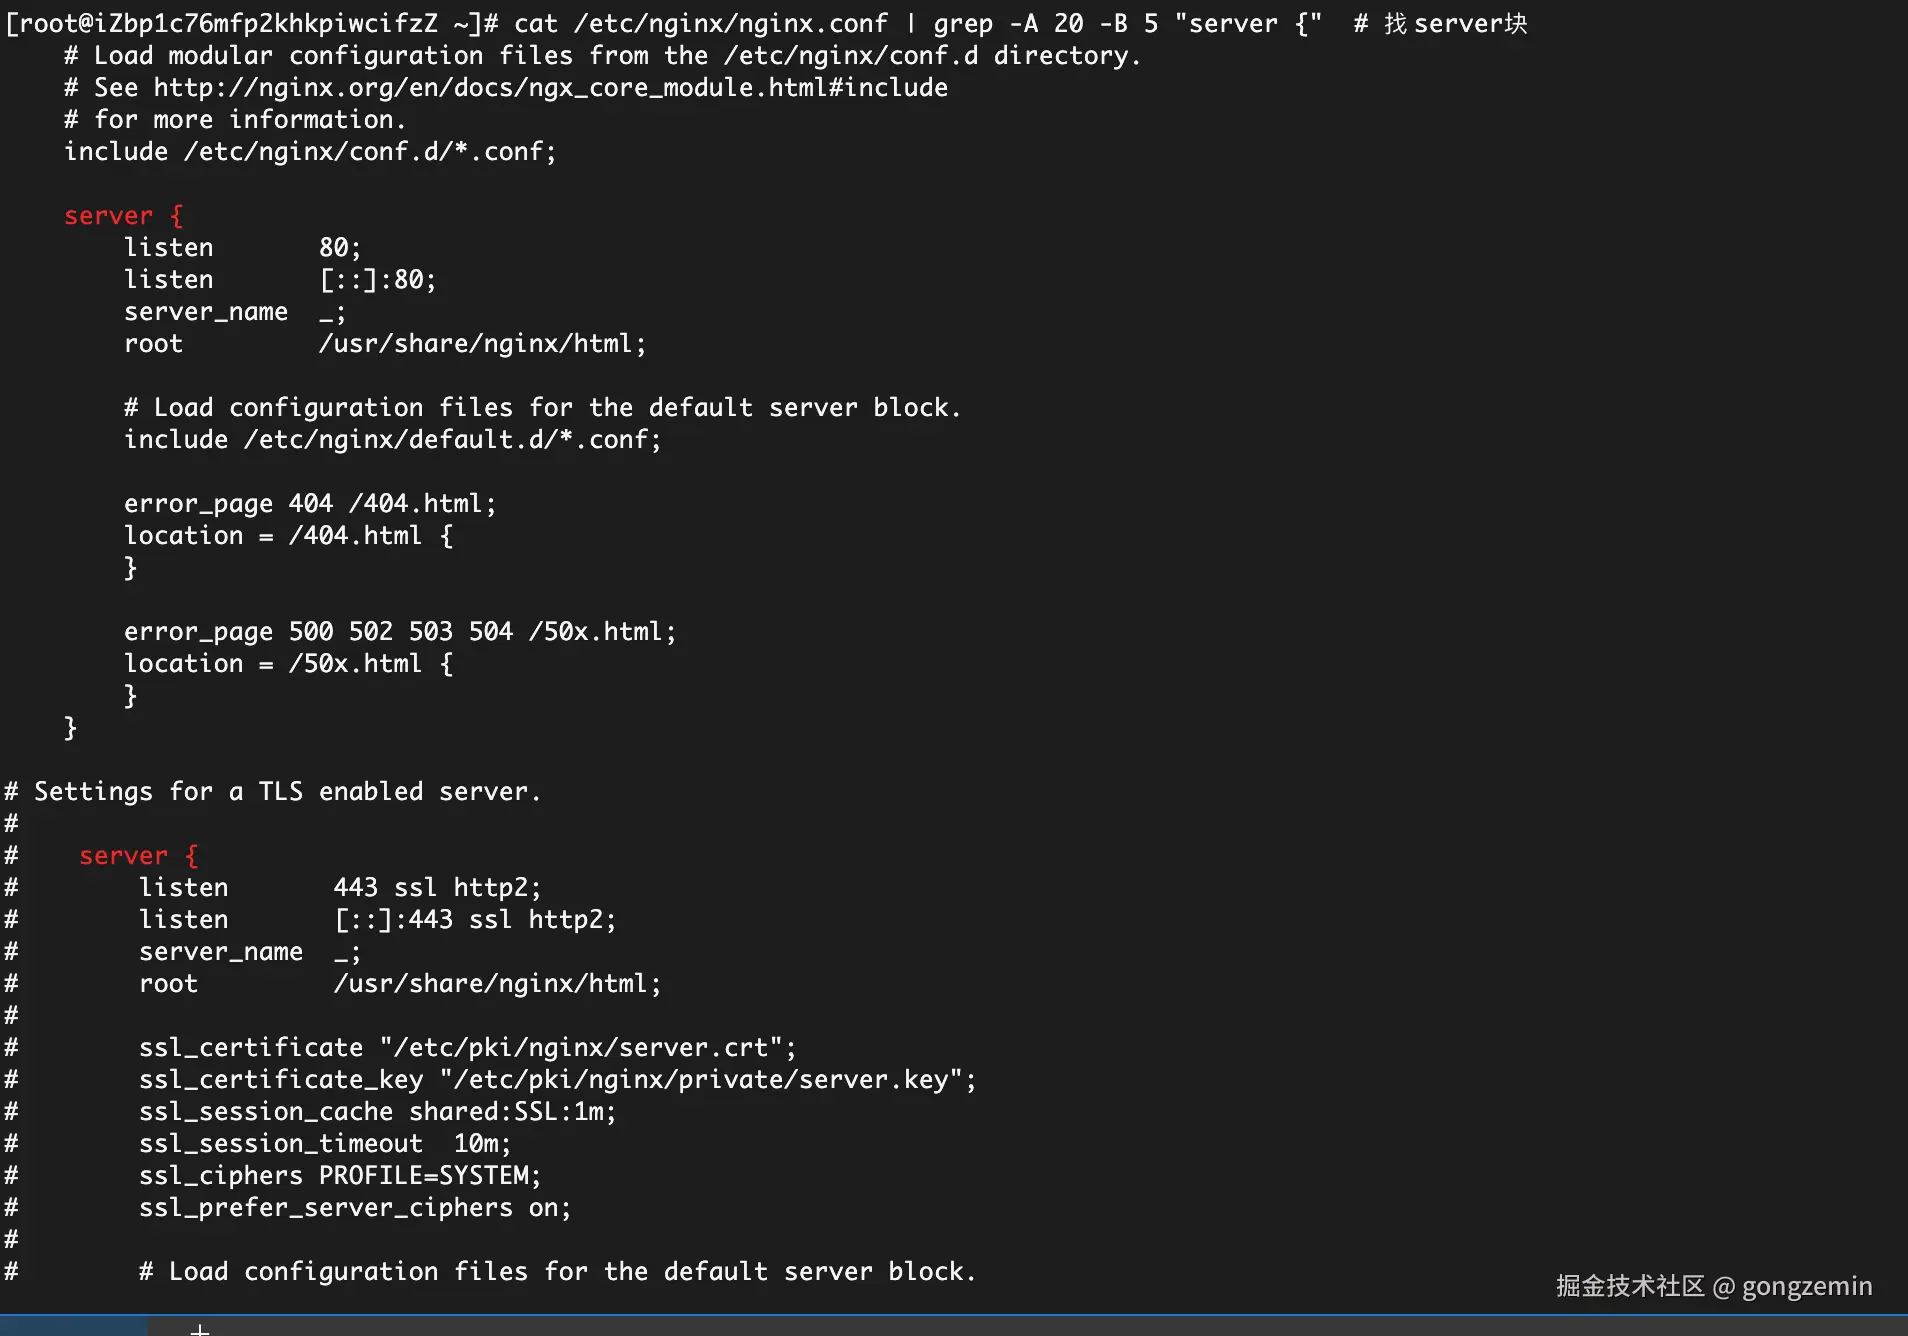
执行如下命令,看下我们的主nginx.conf
cat /etc/nginx/nginx.conf | grep -A 20 -B 5 "server {" # 找server块
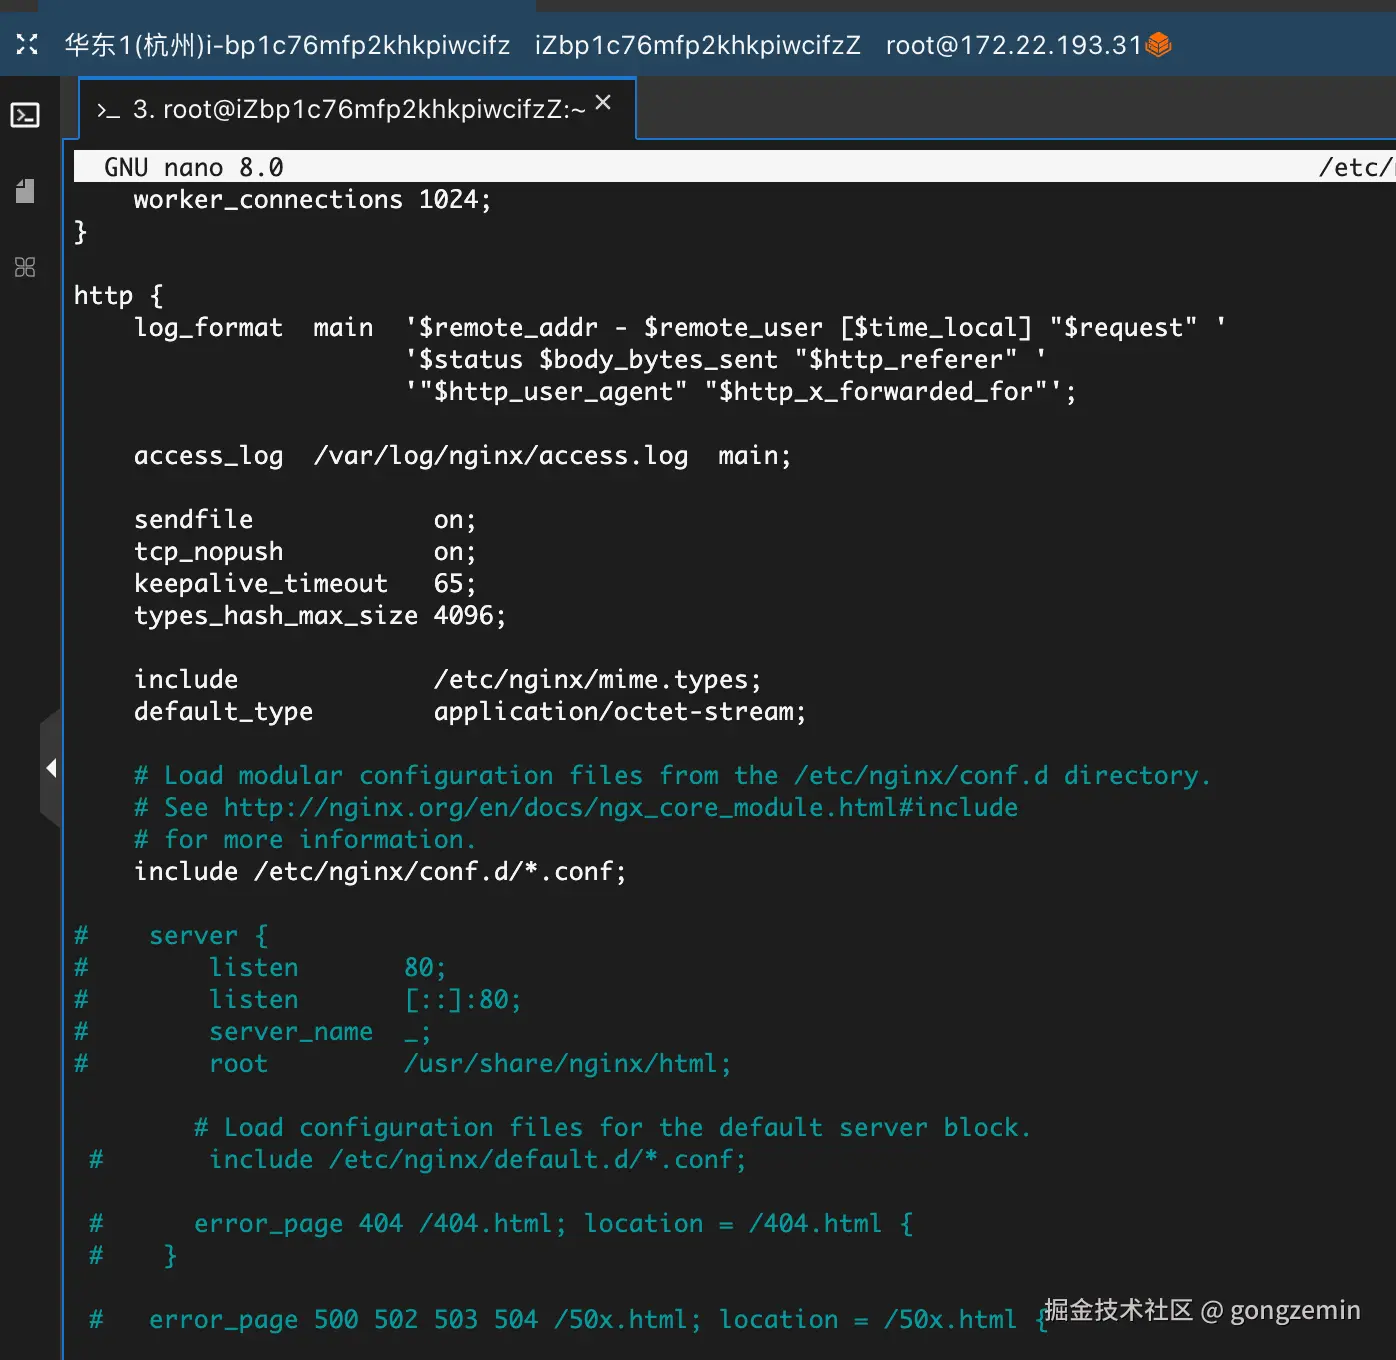
可以看到默认的nginx 80端口指向的是/usr/share/nginx/html,因为我们已经在yitong.conf里定义了80端口指向,http模块那里引入了我们定义的yitong.conf,我们把这部分注释掉,
每次更改,按ctrl+O,加Enter保存,按ctrl+x退出,然后我们执行
nginx -t
检测下我们配置文件是否有语法问题

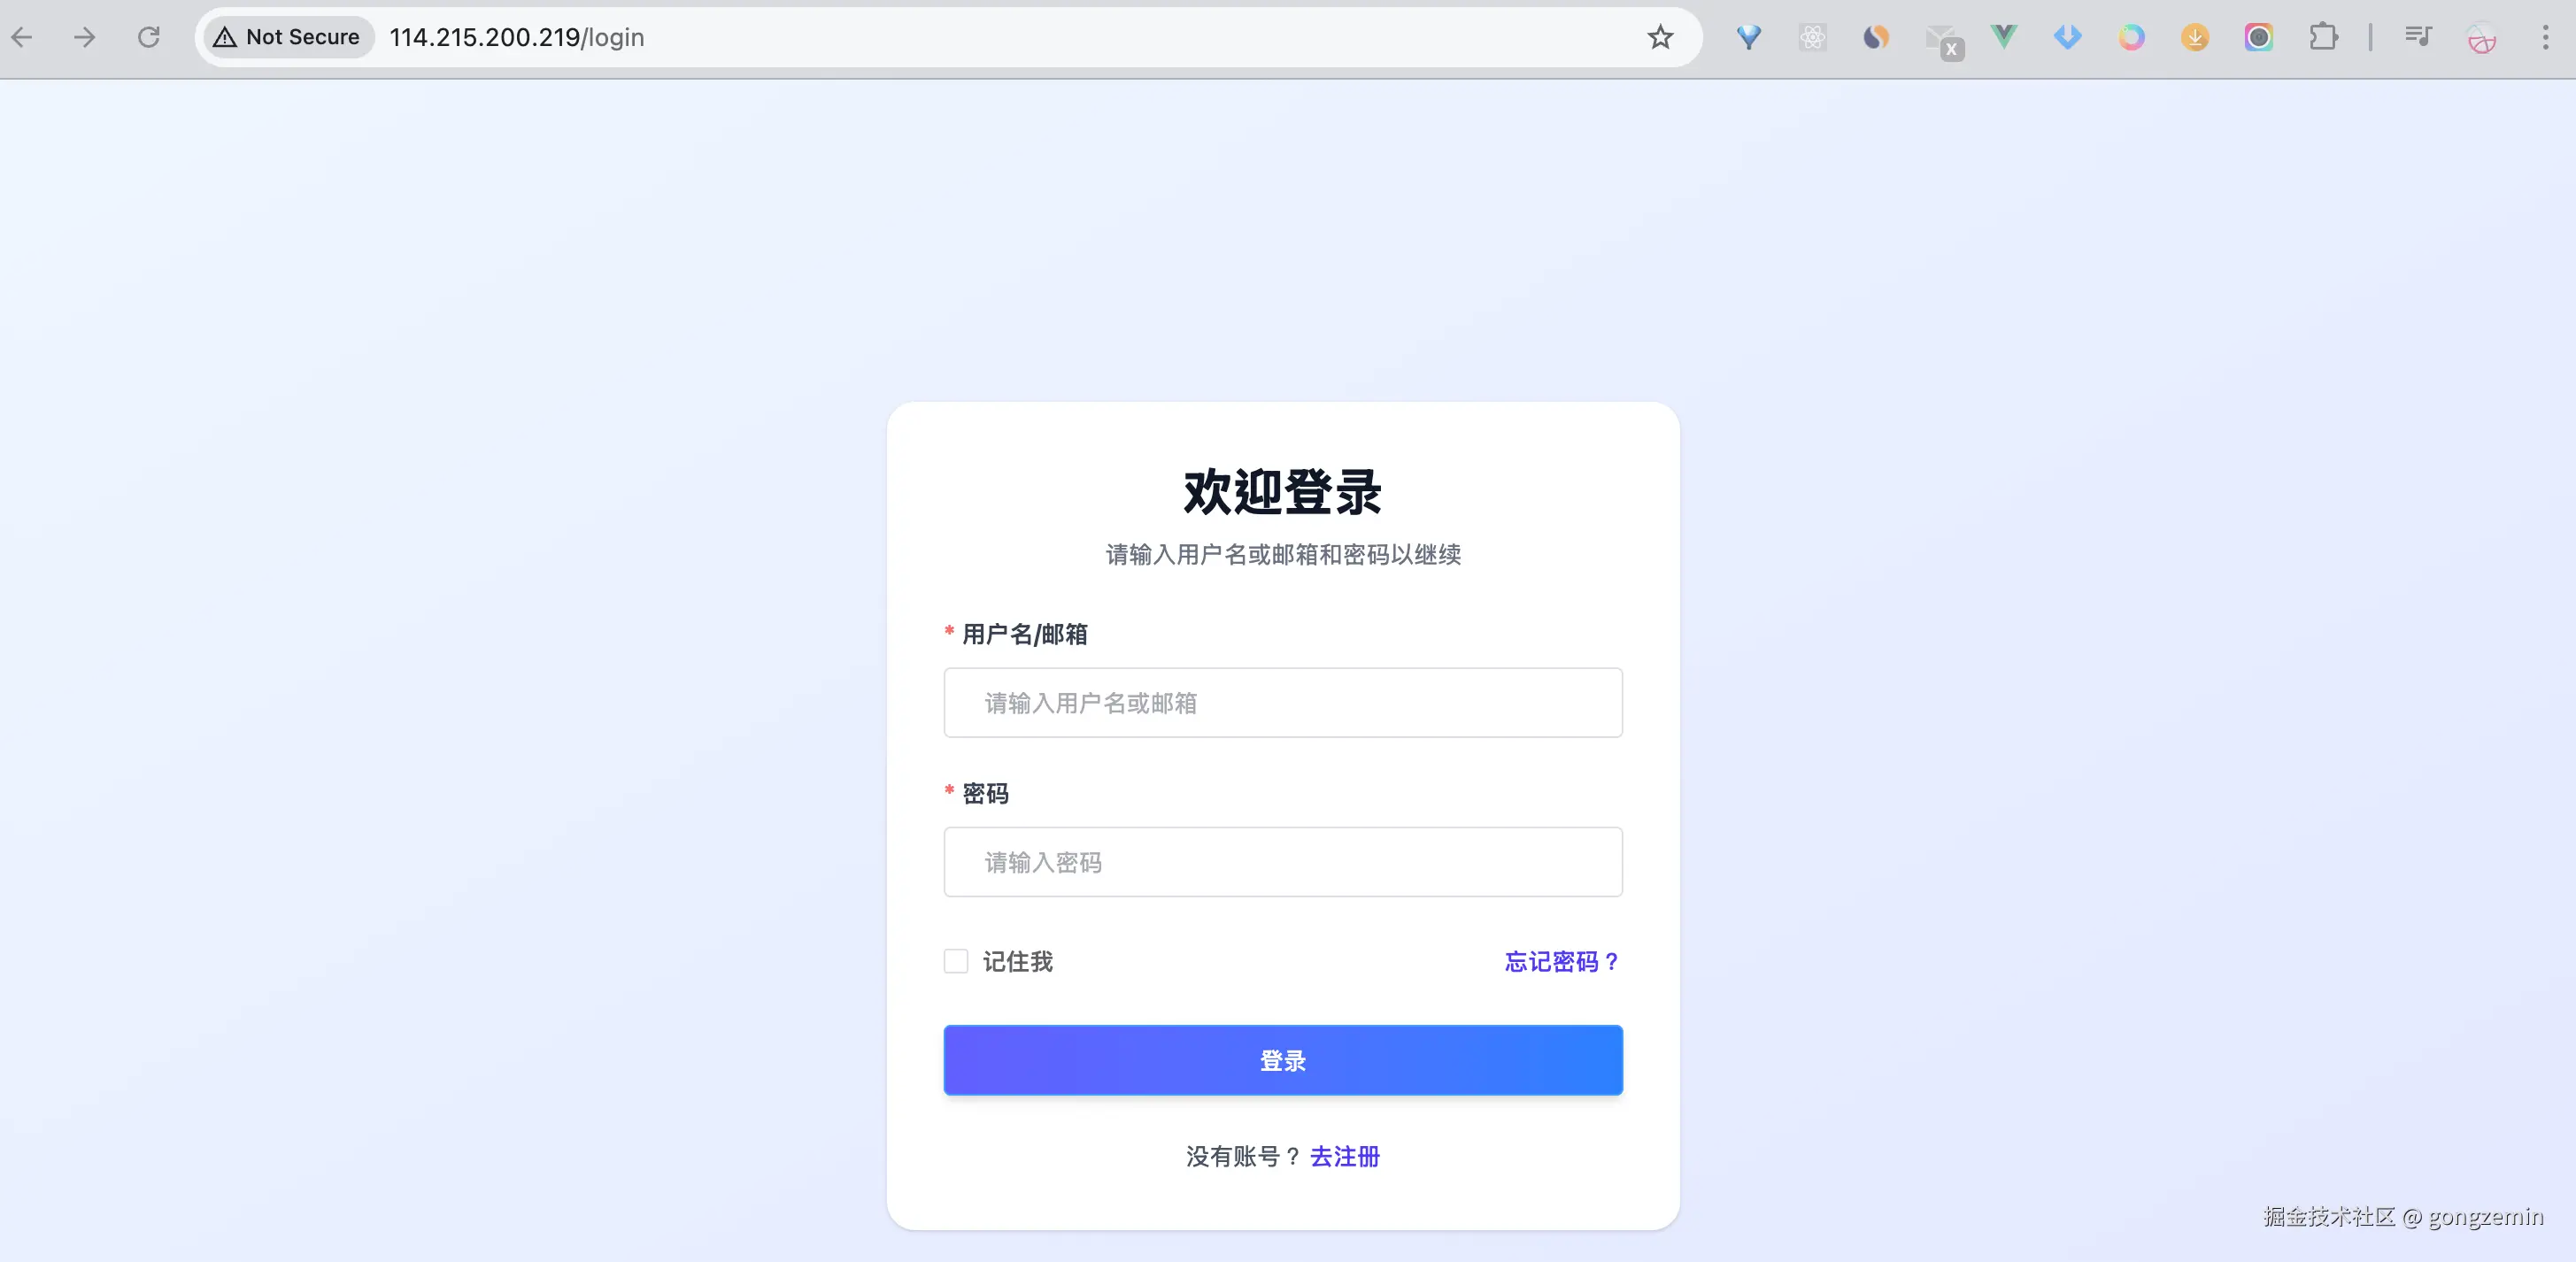
nginx -s reload
让Nginx 服务器中平滑重启(重新加载配置文件),作用是让 Nginx 在不中断服务的情况下应用新的配置,然后我们再访问我们公网IP,就可以访问应用了

